
Jobma Integrates with Certn
This guide will help you in establishing the integration between Jobma and Certn with step-by-step instructions for setup and usage.
Step 1
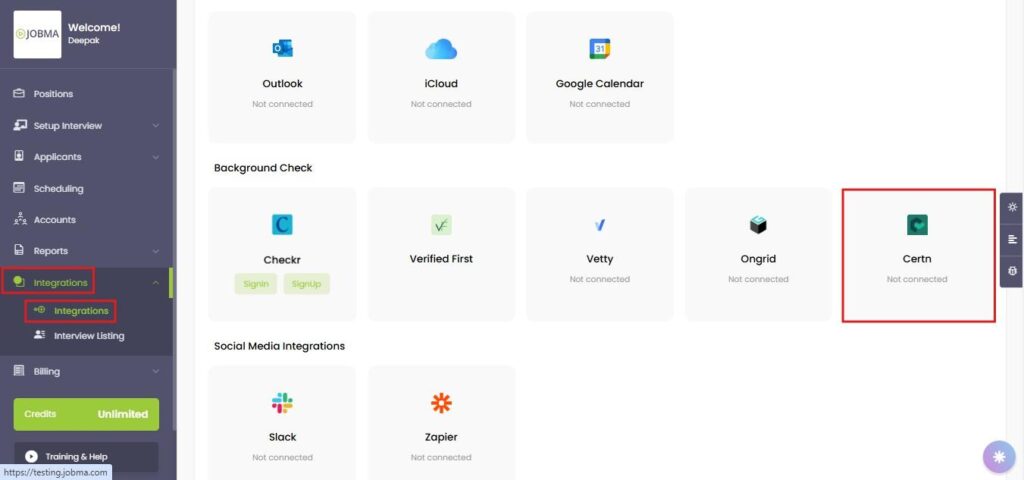
To begin, log into both your Jobma and Certn accounts in separate browser tabs. In your Jobma account, navigate to Integrations on the left sidebar. Click Integrations, then select Certn from the list.
Step 2
You will need to enter the API Key & Webhook Secret key. Once entered, click Save.
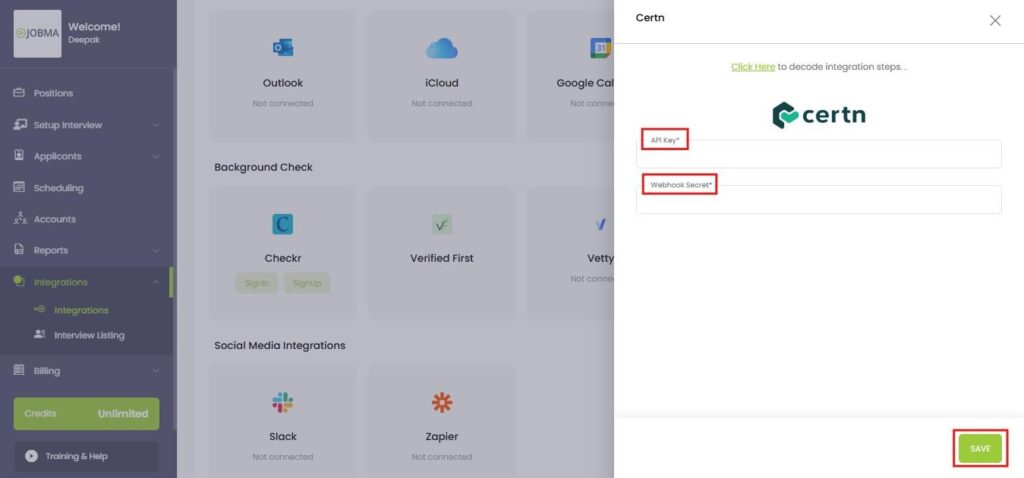
NOTE – For API Key and Webhook Secret Key, follow the below steps
Step 3
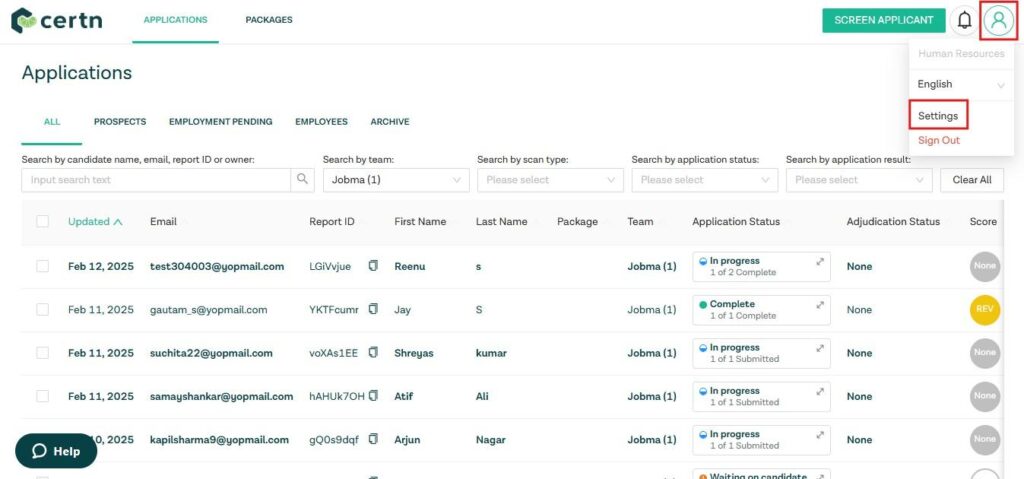
In your Certn account, click on the Profile icon in the top right corner of the screen, then go to Settings.
Step 4
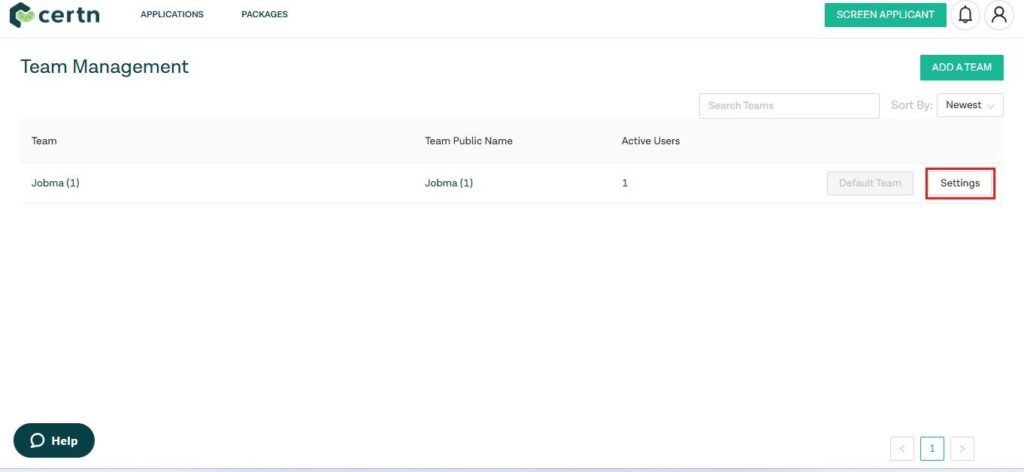
In Team Management, click on Settings.
Step 5
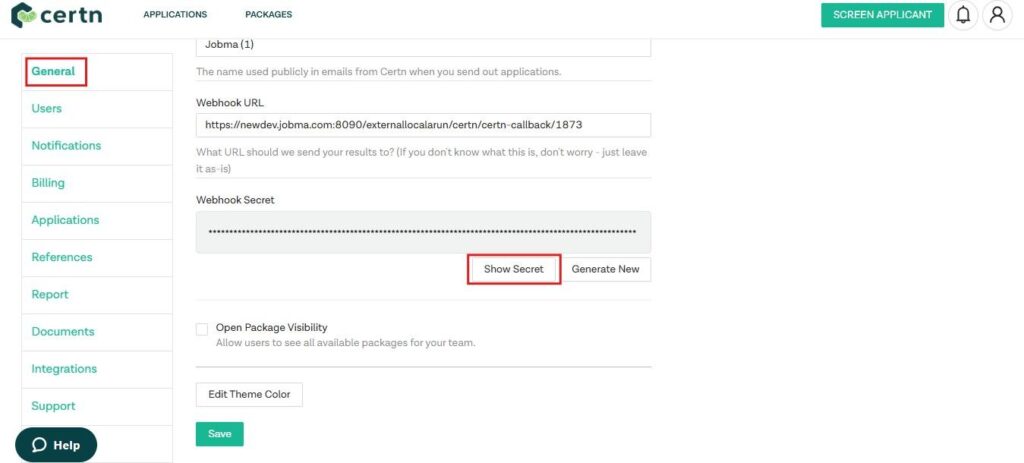
On the next screen, in General settings, you’ll find the Webhook Secret key. Click Show Secret, then copy the key and paste it into your Jobma account.
Step 6
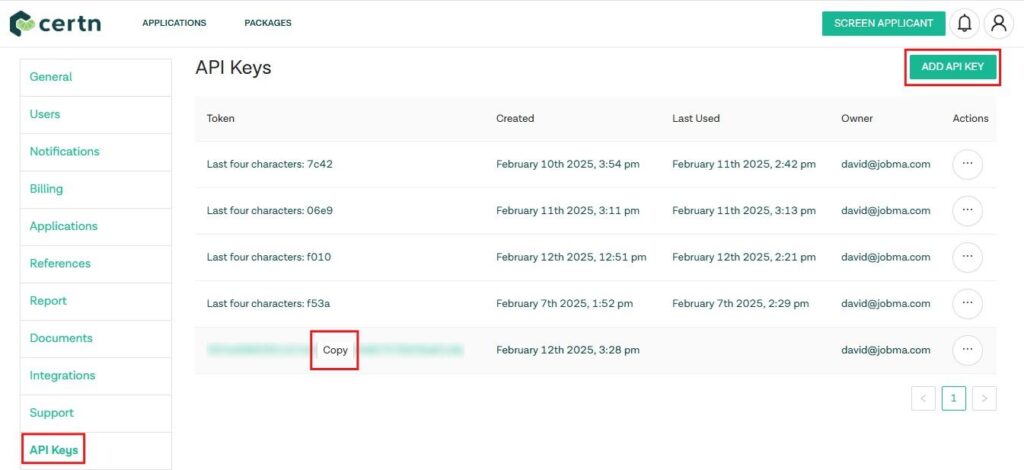
On the left navigation bar, go to API Keys > Click ADD API KEY > Copy the API Key and paste it into your JOBMA account.
On the next screen, you will see a confirmation that your Jobma and Certn accounts are successfully connected!

Step 7
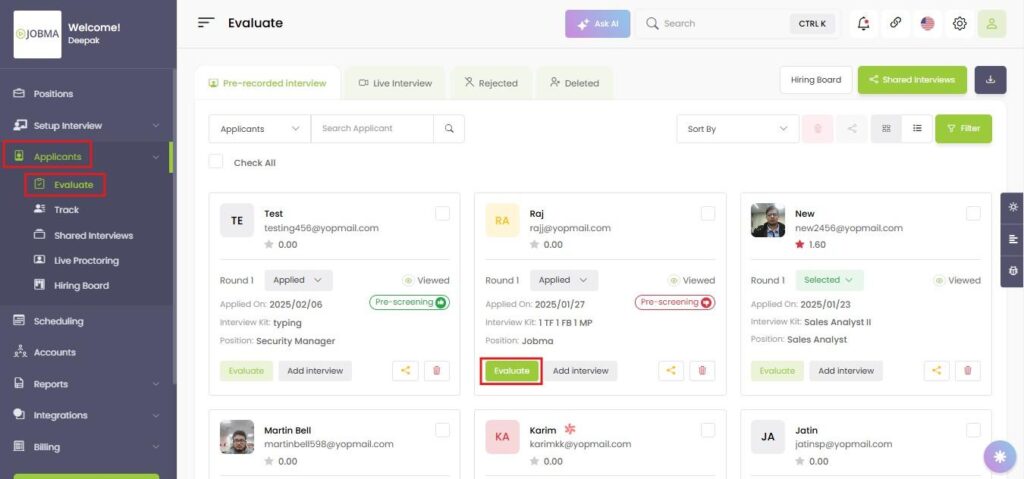
In JOBMA, go to Applicants > Evaluate and select the candidate you want to evaluate.
Step 8
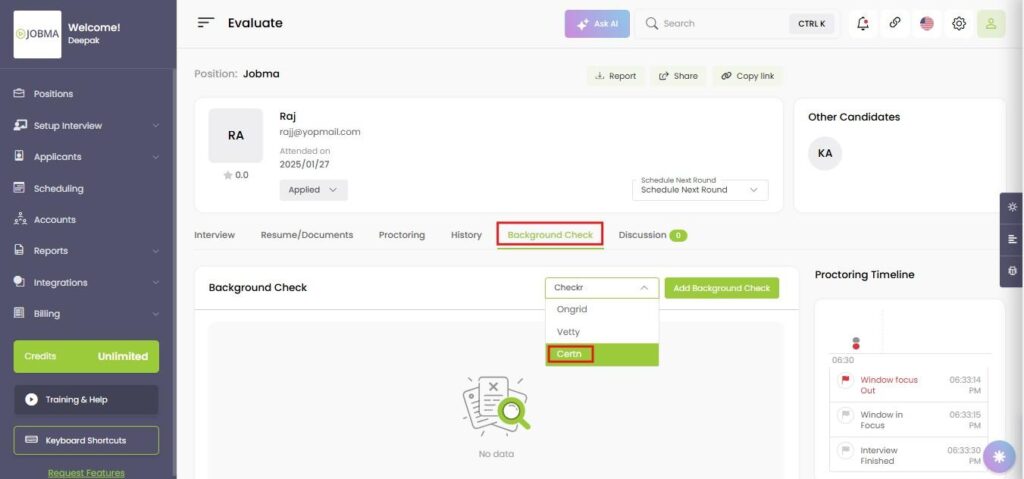
On the next screen, click on Background Check and select Certn from the drop-down menu.
Step 9
Create an invite for the candidate with the required package and click Save.
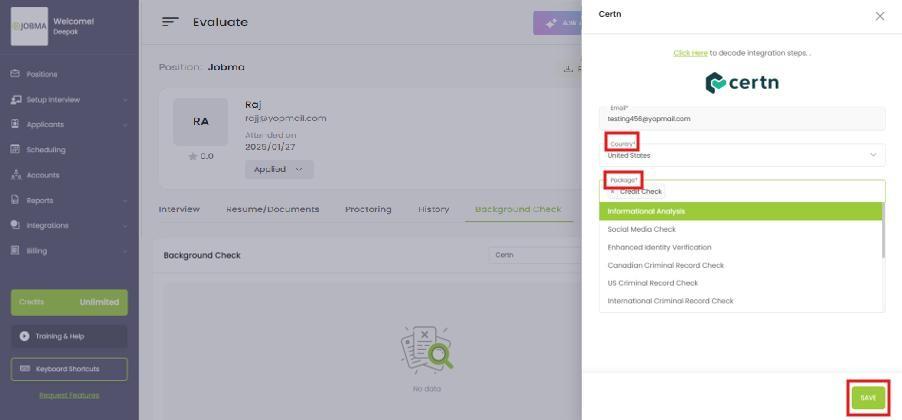
Once the invitation is sent, the candidate will receive it via email.
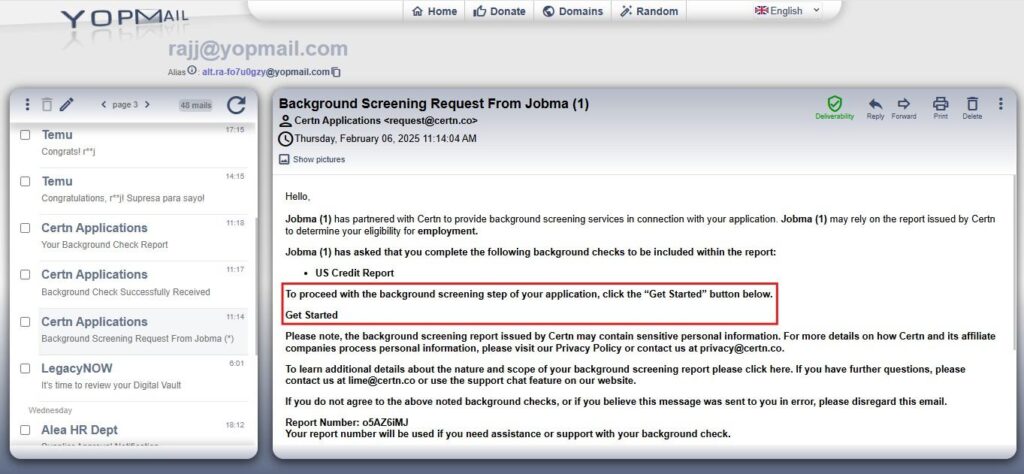
Note – If the candidate has not started the background check, it will show as Get Started and once the candidate has started the process, it will show as Complete Application.
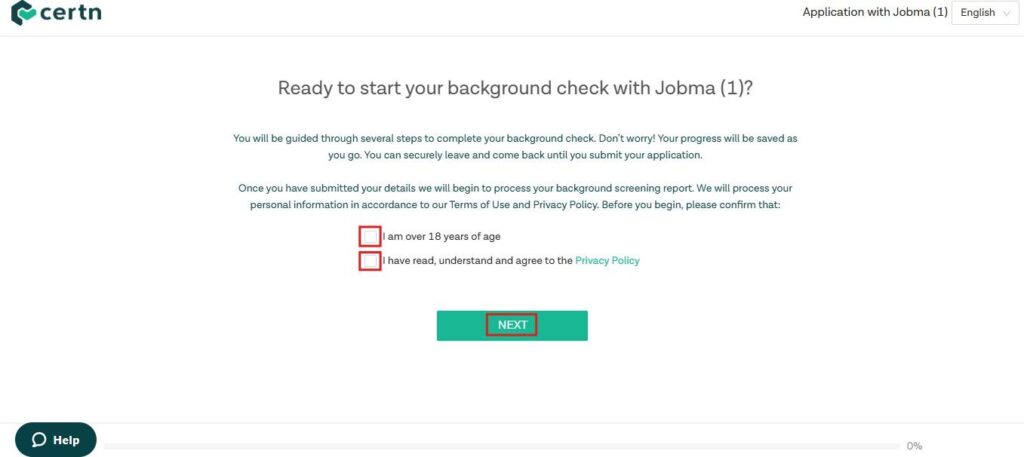
Step 10
When the candidate clicks Get Started, they will be redirected to the background check page on Certn, where they must check the age and privacy policy checkbox and click Next to move forward.
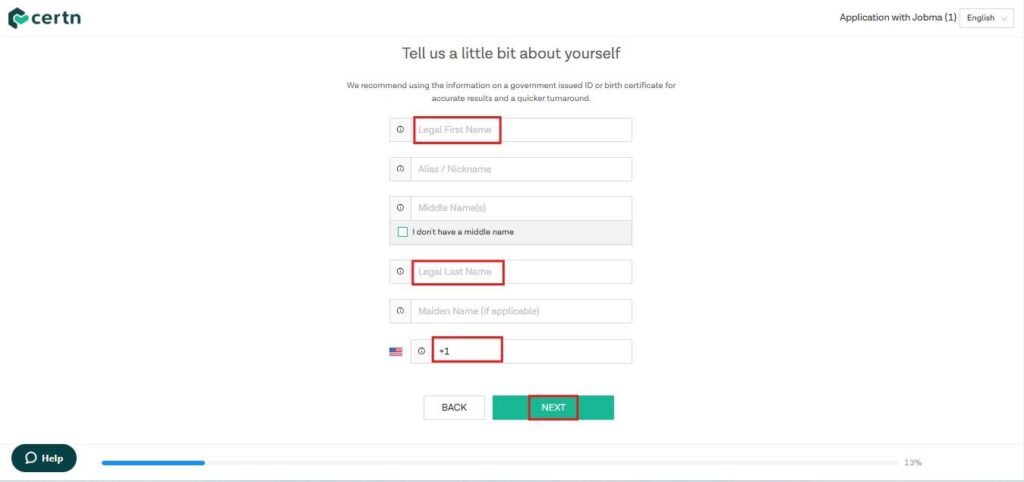
Step 11
On the next screen, they will have to fill in the details like Legal First Name, Middle Name, Legal Last Name, Phone Number, etc., and click Next to move forward.
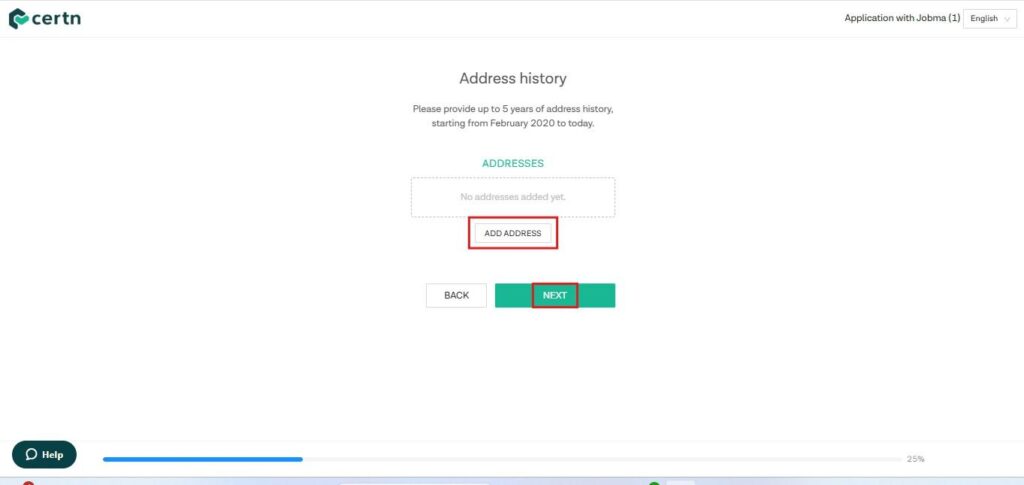
Step 12
Next, they’ll add their current address and click Next to move forward.
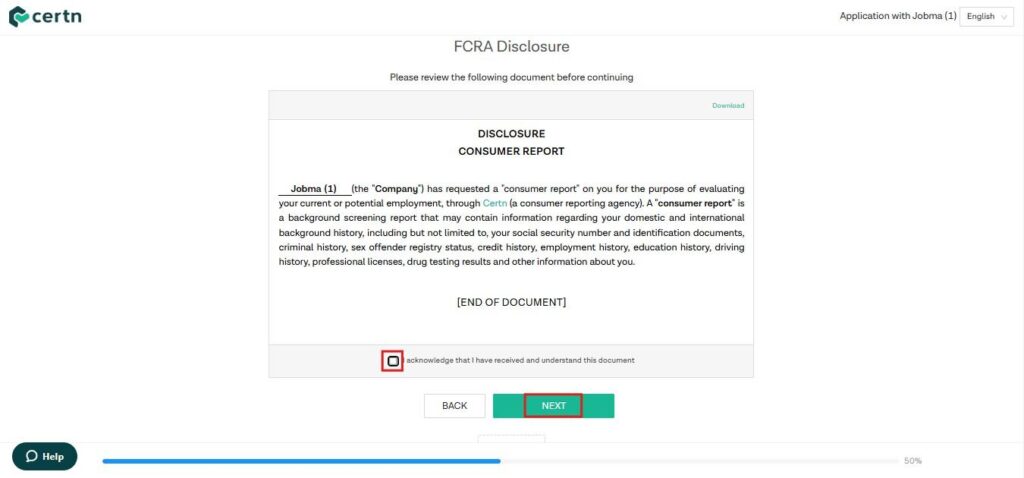
Step 13
Now, they’ll have to agree to the terms and conditions by checking the checkbox and clicking Next to proceed.
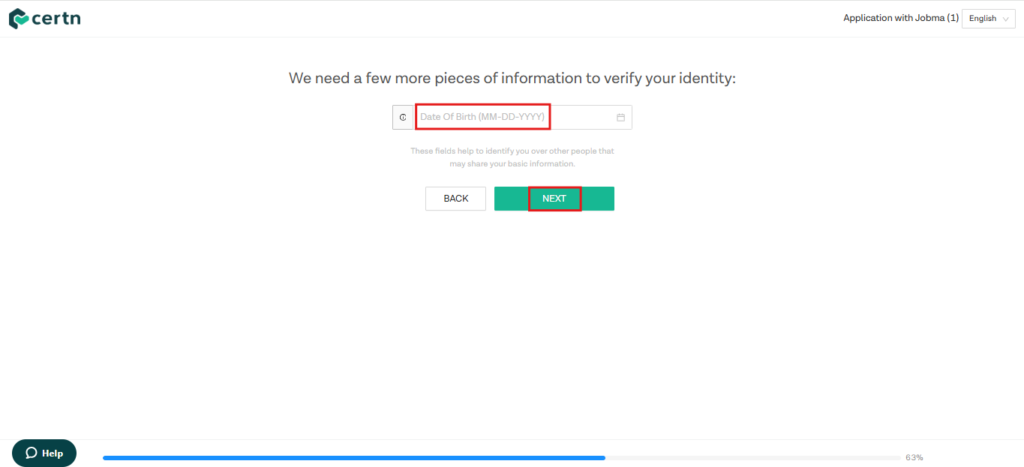
Step 14
On the next screen, they’ll have to enter their Date Of Birth and click Next to move forward.
Step 15
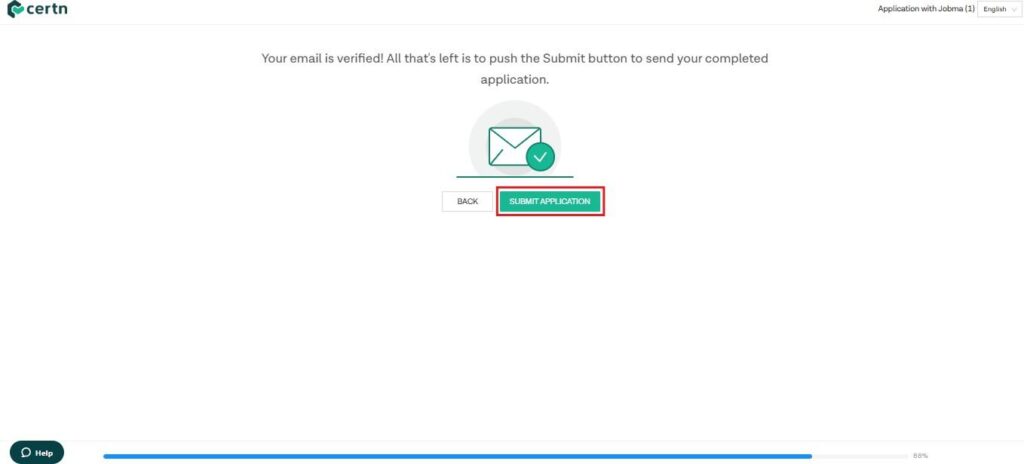
After providing all the information correctly, they must click Submit Application to submit their details.
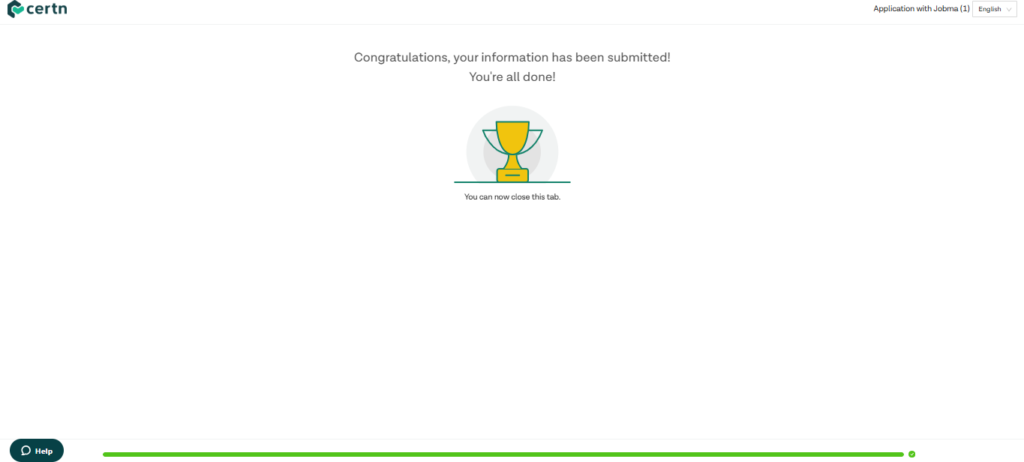
Step 16
After submitting the details, they’ll receive confirmation that the information has been submitted.
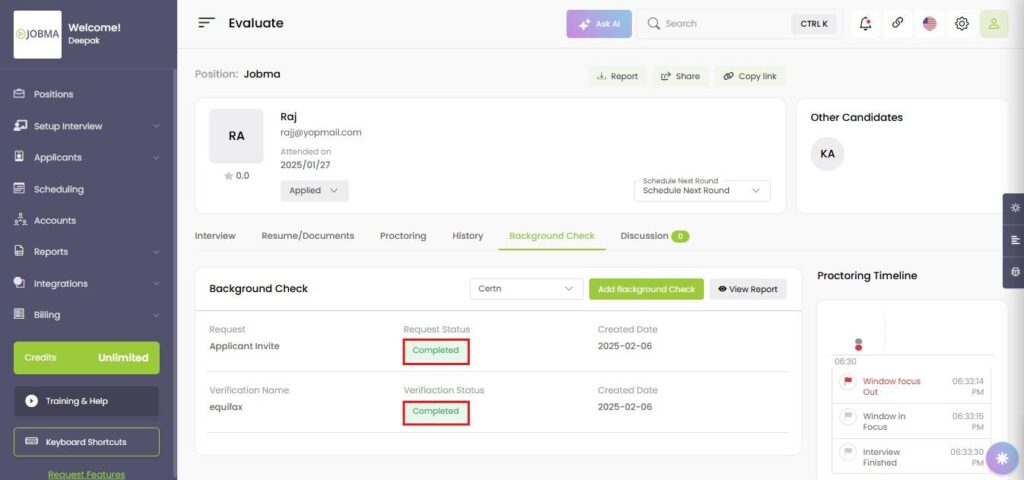
Step 17
Once the candidate completes the self-registration, the status will be updated on Jobma.
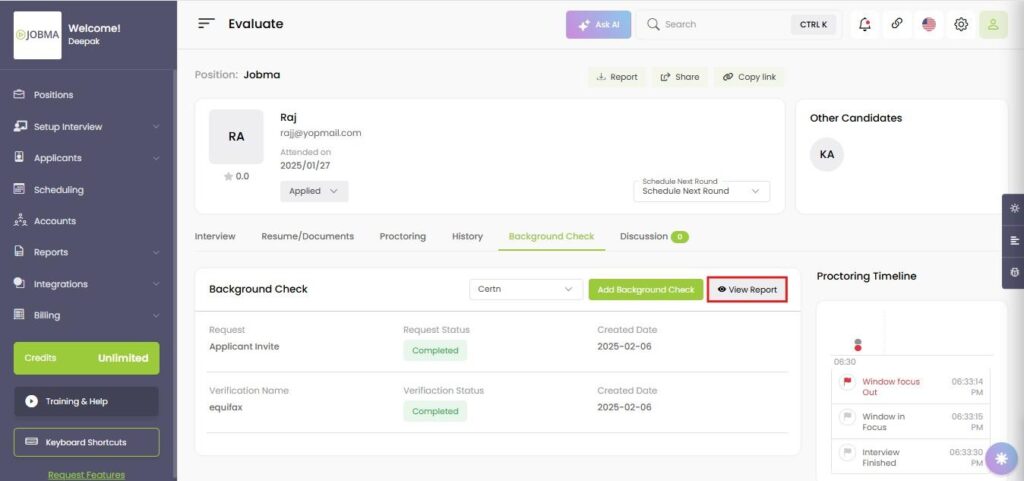
Step 18
We can view the report by clicking on View Report.
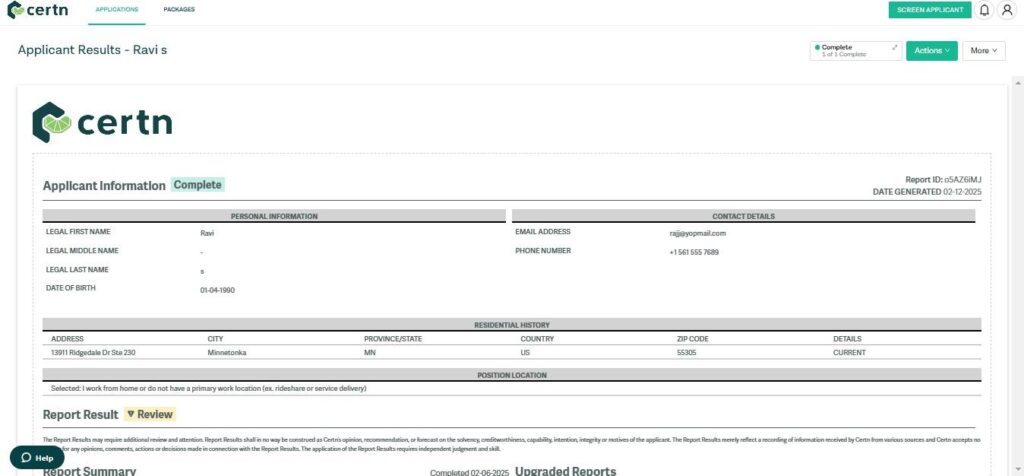
The final report of the background check will look like this.
You’re All Set!
Your integration is ready to use! If you have any questions or need help setting up the integration, please reach out to your Jobma support representative.